

In Part 1, I have already talked about how I did my base makeup including primer, foundation, concealer, bronzer / shading and highlighter.
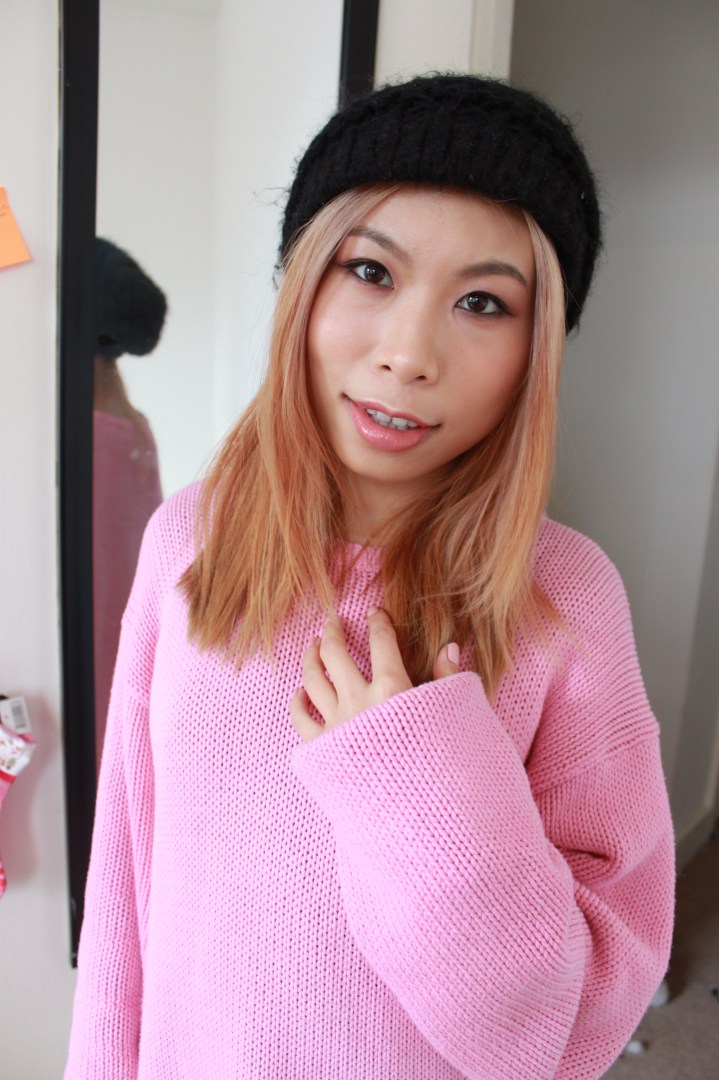
In this post, I will continue with this romantic makeup look and show you guys how I did my eyes, lips, and cheeks.
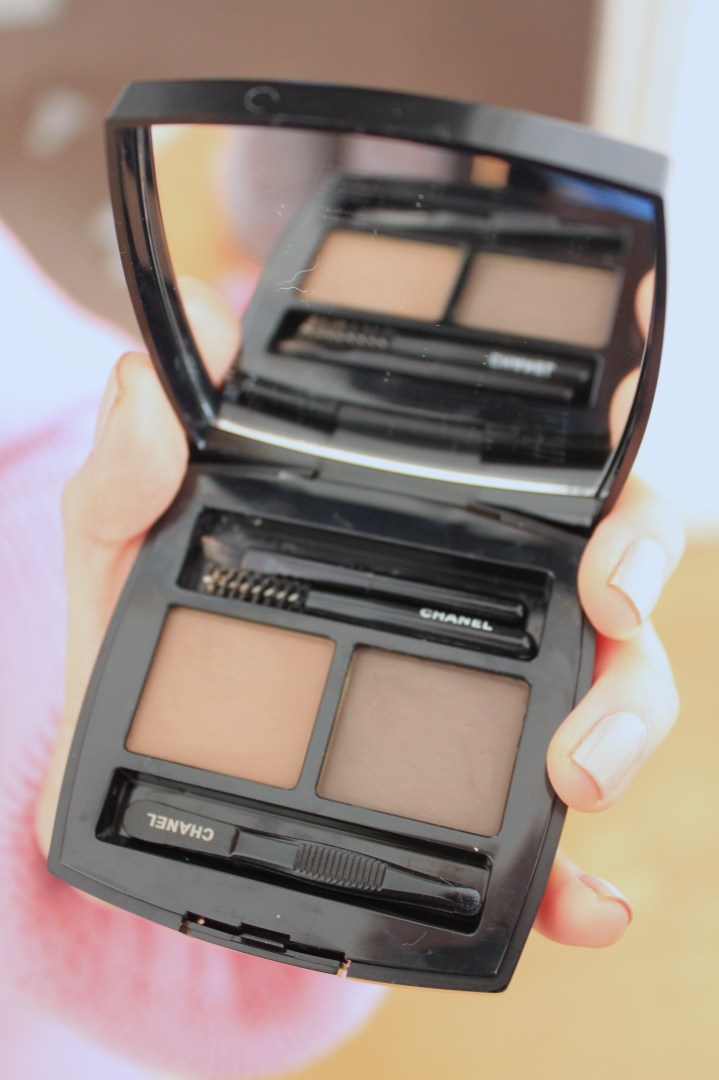
First of all, I am going to fill my eyebrows with La palette sourcils de Chanel (£37) in 40 naturel, this is a very light brown to match my bleached hair. In this look, I am just trying to create a natural look because I want everything to look balanced and nothing too over-powering. I like this palette because it gives a very natural look, so they appear thicker and fuller and to give those brows a little more color.
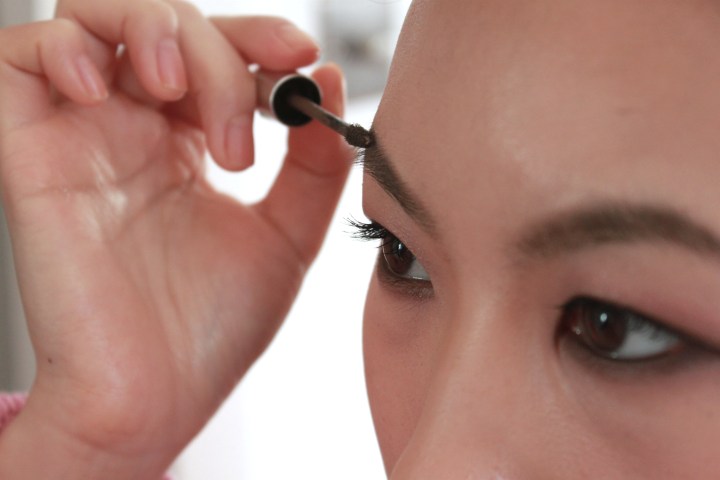
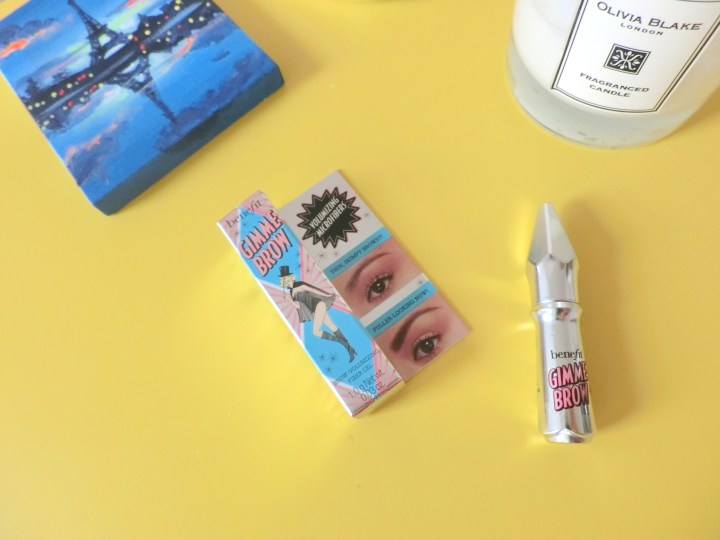
Then, I went in with the Benefit gimme brow volumising brow gel (£18.5), to make my brows appears to be more 3 dimensional and more defined (click here for full review of this brow gel).
Now moving onto the eyeshadow part. If you have oily lids or if you live in a humid place, you will probably want to prime your eyelids with some eyeshadow primer before eyeshadow. I like to use neither Urban Decay’s eyeshadow primer potion (£16) or Too faced’s eye shadow insurance (£17).


Eyeshadow primers not only helps to avoid creasing throughout the day but also intensify the eyeshadow color that you put on after.
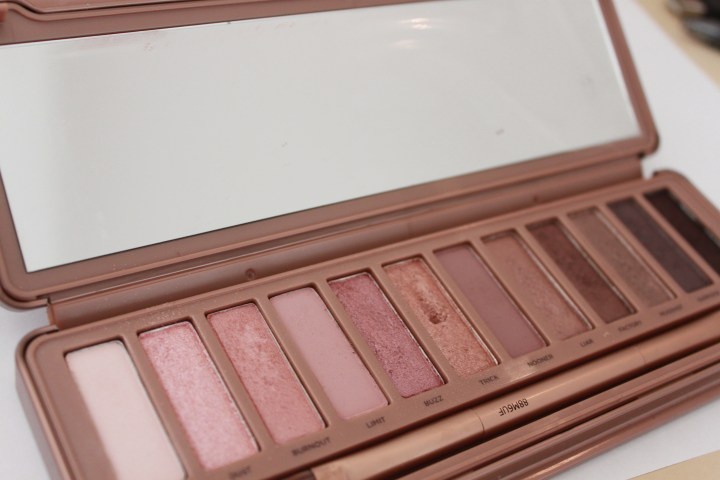
Then, using my current favorite from Urban Decay’s Nake 3 palette, I used “light” (matte pale pink) to buff all over my eyelids as a base, and then I used “burnt out” (sparkly pink) to cover my crease area and then I use “darkside” (dark gunmental gray) on my outter V. Then I use a blending brush to blend everything so that they don’t have any harsh lines. Then I used “blackheart” (black with purple glitter) to line the base of my lids as eyeliner.
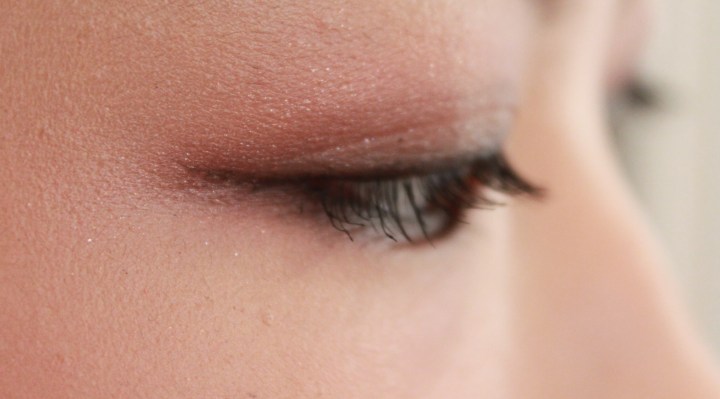
On to eyeliner, I first use the YSL Long Crayon Yeux Waterproof eyeliner £20 to line the base of my lids and then I top it off with a Japanese drugstore liquid eyeliner – Heroin Make smooth liquid eyeliner in black. I love this liquid eyeliner! It’s super inexpensive and does a really good job.


Then I curled my lases using my trusted Shu Umera eyelash curler £20. (Further read: Two legendary eyelash curler comparison: Shu Umera v.s Shiseido) I always apply two different mascara to maximize the eye widening effect, I would apply a volume mascara first and top it with a lengthening mascara after.
In this look, I used Covergirl’s lashblast volume mascara ($8.99). I always use a waterproof mascara when possible, because of my Asian lashes are very straight and hard to curl, and waterproof mascara holds curl a lot better than the non-waterproof. The waterproof formula works like a hairspray for your lashes!
Then I would apply a lengthening mascara from Deja Vu to add length to the ends of my lashes as it attaches tiny fibers to your lashes to extend them, providing a false lash effect without applying falsies.


Next? Blush.
First, I used a berry shade from my temples to the top of my cheekbones diagonally, using Estee Lauder’s blush in radiant berry (discontinued), you can use any shade that is a deep rose / mauve color. Then I use a bright pink blush on the center of my cheeks, here I used the Nars Angelika blush £23. I applied both brush with my favorite blush brush from Shiseido ($38).


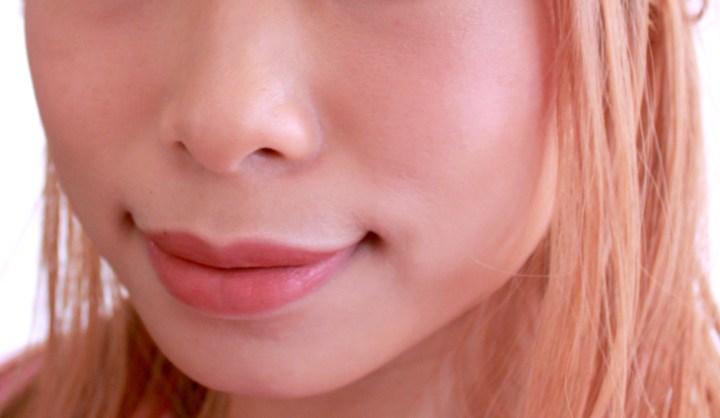
Lips – I first used a lip liner to fill my entire lips using the NYX professional slide on lip pencil in Nude Suede (£5.5), this is a “My lips but better” shade for me. Filling my lips in nude color would prolong the wear of the lipstick that you apply after. Then I topped it with Clarin’s Jolie Rouge in Soft berry (£20) to create that soft natural lip look.


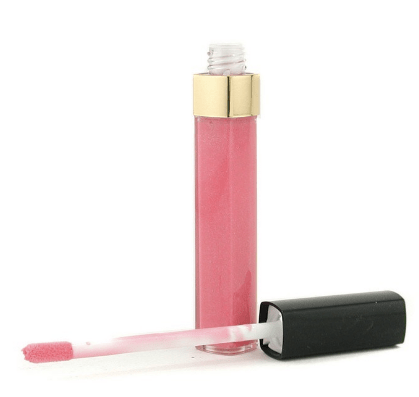
Finally, I added a little bit of Chanel’s levres scintillantes glossimer in shade rose dilemma (£22) on just the center of my lips. Et Viola!
Let me know what you guys think of it by commenting below! What is your go-to date night makeup look?

One thought on “Step by step sweet romantic makeup look | part 2 | eyes, lips & cheeks”